In this stage I just roughly start working my shape and try to get a feel for the subjects features.
Around this point I start to see what isn't working, the nose being an obvious example. Robert Englund has a very distinct nose. Something I try to do is sculpt more from the actor under the make up than the character its self.
Now to me Freddy is really starting to take shape. I can see at this point whether I'm on the right track or not.
From this point to the finished sculpt is where I have the most fun. Now I can start working in the detail.
Still working in that detail.
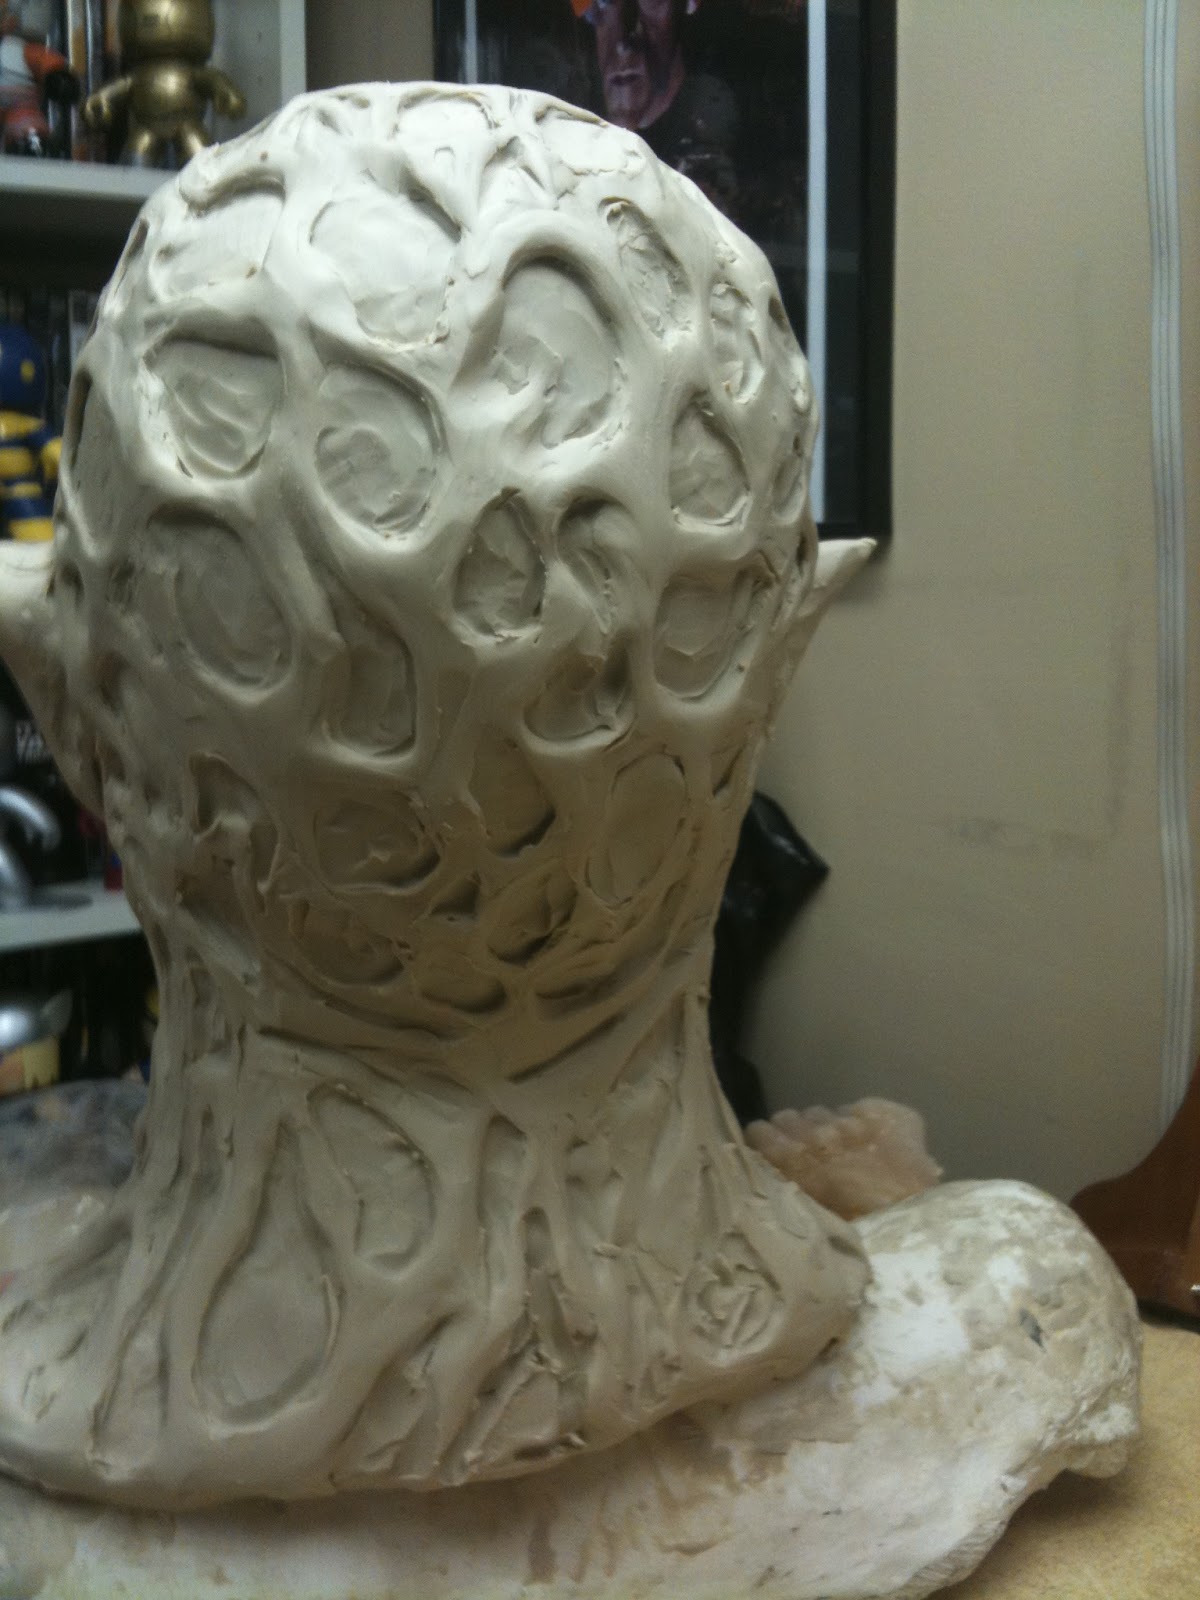
Don't forget when working on masks and busts, people will look at all sides so I try to keep this in mind and make stuff interesting to me from all sides. (take my advise on this if you are just starting out, me and my friends always pick up stuff and examine it from all sides. Even the pros will tell you, if doing a mask or make up, you never really know what angles the director has in mind and what he actually shoots)
Still detailing....
At about this point I'm done obsessing and reaching a point where I'm pretty much pleased with my sculpt.
O.K. for me this is the scariest time on making a mask or bust or anything requiring a mold. I'm done my favorite part of the process, sculpting............now I better take a million pics just in case the mold doesn't turn out.
Another pic............(and I'll spare you the other million pics I have with just a few examples)
So here he is, ready for the mold process.........lucky me the mold turned out.
Onto the painting....... for me painting is a constant trial and error. Understanding color and its theory are one of the biggest challenges in the arts in general.......my opinion. So there is always room to grow and a ton of stuff to constantly learn. Basically to me there is no wrong way, just a lot of tricks. First coat was an oil and rubber cement mix.
For Freddy I used a series of dark colors and extreme highlights as my second base, acrylic and latex mix.
Then to find what look I was going for I made a series of rubber cement and oil paint washes, then finished it with some acrylic and latex touch ups. There may have been an easier way to get my desired look, but at the time thats thats what I pulled outta my bag of tricks. Also you'll notice I made some eyes and put them in place.
At this stage I put in Freddy's teeth (which I don't have pics of the stages for making his teeth) and went over him with a flexible non cracking finish.
And here he is.......... Freddy Demon from Freddy vs Jason.


Even though I was around for all these step, seeing it all laid out on her is fantastic. I love seeing How he progressed by each step you took
ReplyDelete